

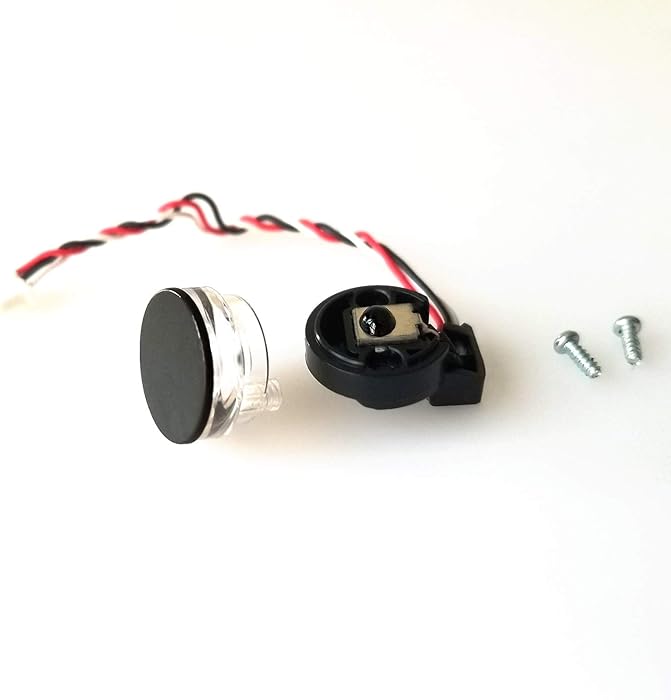
**Roomba iRobot, the revolutionary vacuum cleaning device, has an intricate system of sensors and parts that ensure optimal cleaning. One such essential component is the sensor IR bumper top. Over time, with regular use or accidental bumps, this sensor can become faulty. Thankfully, REEYEAR provides a compatible replacement that’s both durable and reliable.
Steps to Replace the Sensor with REEYEAR:
Unplug and Turn Off the Device: Always start by switching off the Roomba and unplugging it if it’s charging.
Access the Sensor Area: Gently flip the Roomba upside down to expose its underside. Locate the sensor IR bumper top.
Remove the Old Sensor: Using a small screwdriver, unscrew any fixtures holding the sensor in place. Carefully remove it without tugging at any attached wires.
Install the REEYEAR Replacement: Take the REEYEAR sensor IR bumper top and place it in the same position as the old one. Screw it into place ensuring it fits snugly.
Test the Roomba: Once the sensor is replaced, turn on the Roomba and let it run for a short while to ensure the new sensor is functioning correctly.
By following these steps, your Roomba iRobot will be back to its optimal performance in no time. Regular maintenance and timely replacements ensure that you get the most out of your device.