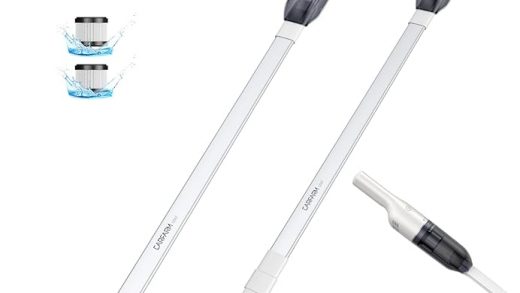


The Spirit Windtunnel Hoover, commonly found in many Australian homes, requires careful handling during assembly, especially the upright switch component. Here are the steps:
Unpack All Parts: Ensure you have all necessary components laid out.
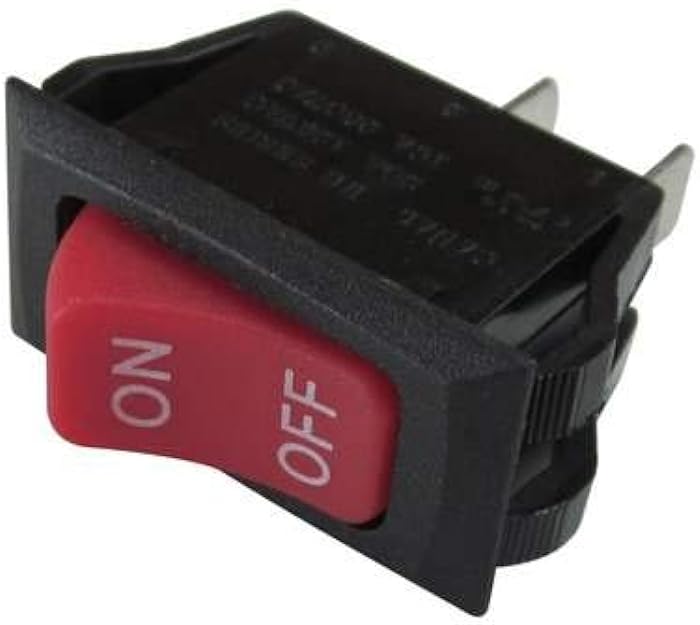
Identify the Upright Switch: It’s usually a distinct piece, separate from the main body.
Position the Switch: Align the switch in the designated slot on the Windtunnel’s body. Make sure the orientation matches the design.
Secure the Switch: Depending on the model, you might need to screw it in place or simply snap it.
Test the Assembly: Before using the Hoover, test the switch to ensure it moves freely and doesn’t jam.
Final Checks: Look for any loose parts or anything that seems out of place. Rectify if needed.
Remember, it’s crucial to refer to the manufacturer’s manual as models may vary slightly.
**A:** Certainly! While the manual is helpful, the general steps mentioned above should guide you. However, always ensure the switch feels secure and test before full operation.
Q: Are there any specific tools I should have on hand for the assembly?
A: Typically, a basic screwdriver set should suffice. However, depending on the model, specific tools may be required. It’s best to check with the manufacturer or retailer.
Q: What if the upright switch doesn’t fit snugly?
A: It’s essential for safety and functionality that the switch fits correctly. If you experience issues, consider reaching out for a replacement part or consulting a professional.